
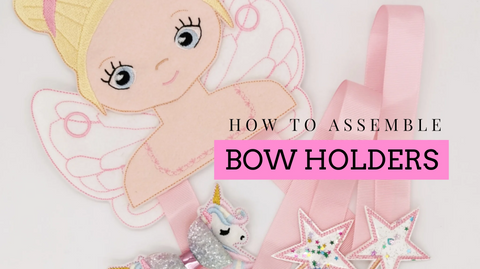
How to make your
bow holder or reward chart
This will be a quick tutorial, because our Create Your Own bow holders and reward charts are so easy to put together! This is not a daunting task, and the end result will be amazing...trust us!
Stuff you need to know first...
Our bow holders and reward charts will be backed with leatherette unless the front of it is already made with a leatherette or stiff material as part of its design. This is important for its longevity and how it will look once hung on a wall. The finish is just a bit more professional, as oppose to a felt front and back.
What you will need:
Your bow holder or reward chart
Sharp Scissors
Stitch rippers (optional method)
Ribbons of your choice (you can purchase these separately in our store) - wee recommend 16mm or 22mm wide grosgrain ribbon.
Hot Glue (or similar, depending on what you prefer to use!
Embellishments etc - should you wish to add more decoration to your finished product
Step 1
Your bow holder or reward chart will arrive uncut, so with a sharp pair of scissors you will need to cut around the outer stitch. TOP TIP: Move the embroidered product when cutting and not the scissors for a neater finish

Glitter Bow Holders. Here is a photo of our popular glitter ballet dress bow holders with ballet shoe ribbon ends, available in a huge choice of colour options!
Step 2
Once you have prepped your bow holder or reward chart parts, you can now start attaching your chosen ribbon. On the reverse of your main part, decide where you want your ribbon/s positioned, make a little mark with a pen to indicate the size and position of the slit you will need to create.
You can choose two methods to create your slit: You can carefully lift the back layer away from the front, whilst doing so, pinch the area with your fingers where your slit will be, and make a little cut with your scissors. Now you can push your scissors through the little snip you have made to cut the rest of your slit. Alternatively, with a stitch ripper, carefully push it through one end of your slit and push along your imaginary slit line to create a gap.


Step 3
With your hot glue, squeeze a blob of glue inside the slit and slide your ribbon in and secure. Pop another blob of glue on the top of your ribbon and press the back of the bow holder down to secure further.
Give your product the neat finishing touch: As shown above, cut and glue a piece of felt over the slit and ribbon to neaten it up. Also, this will add further strength to the ribbon when bows are clipped onto it!
Repeat the above steps to add a looped ribbon to the top so it can be hung onto a wall!
Watch our video tutorial given by Michelle!
https://www.youtube.com/watch?v=Kw_XTv9KCX4